Creating an Action Plan
Creating an Action Plan
- Overview
- Any required actions (Corrective or Preventive) associated with the CAPA shall be recorded in the Action Plan. These actions can be started immediately or started automatically upon Approval.
- How to create an Action Plan
Step 1: Navigate to Actions tab
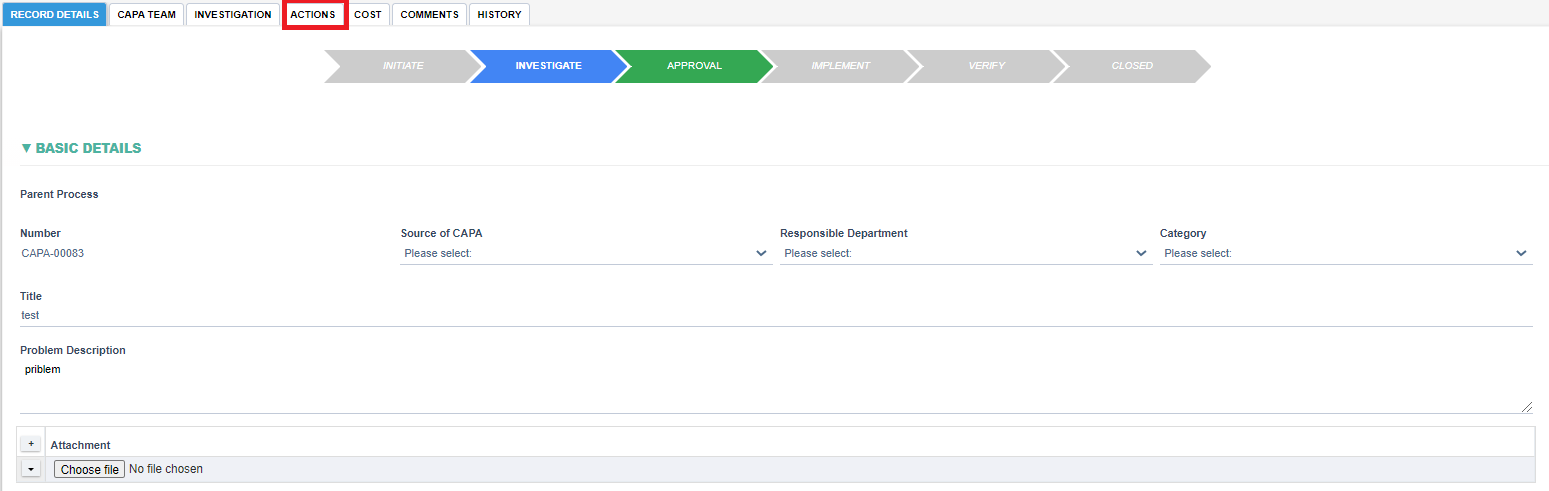
Step 2: Choose the checkbox Actions Required ?

Step 3: A button "PLAN ACTIONS" shall appear after the previous step, click on the button to start planning actions. If an Action Plan has already been created for this CAPA then the Plan Actions button shall be replaced with a link to the Action Plan, in which case use the link to access the Action Plan.

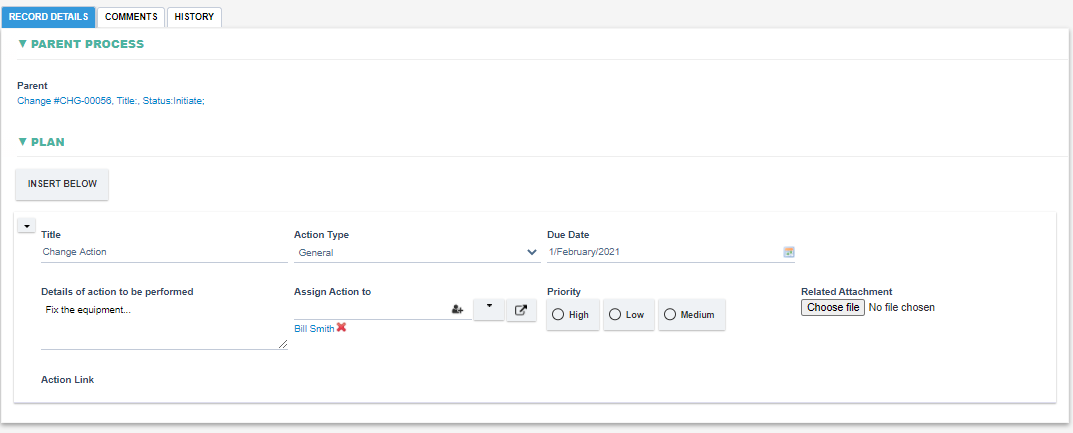
Step 4: Clicking on the button or action plan link shall open the Action Plan form:
- Please refer to the Action Plan in the Actions Module on how to conduct an Action Plan.
- Multiple actions can be planned in a CAPA by clicking the INSERT BELOW button.
- A sample Action Plan is shown below:
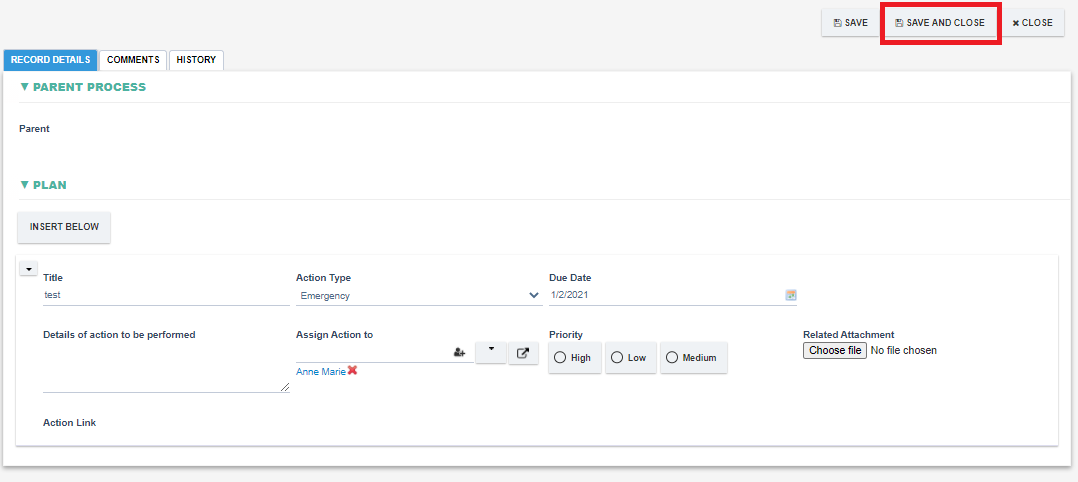
Step 5: Hit "SAVE AND CLOSE" after all actions and related information has been added
Step 6: Back in the CAPA, all actions from the Action Plan shall be displayed under the Action Plan section.
- PLAN ACTIONS button shall disappear and shall be replaced with a link to the Action Plan (use this link from this point forward to edit and access the Action Plan)

Step 7: To start all the planned actions, click on the START ALL ACTIONS button (or route forward for Approval)
- After clicking START ALL ACTIONS, all the actions in the list shall be assigned to the users in the Assign Action to field.
- An email notification shall be sent to the users Assigned to the Action.
- Refer to the Actions Module for more details on the Action Process.