Check in check out
Check in Check out Document
- Step-by-step instruction of the checkout/check in process
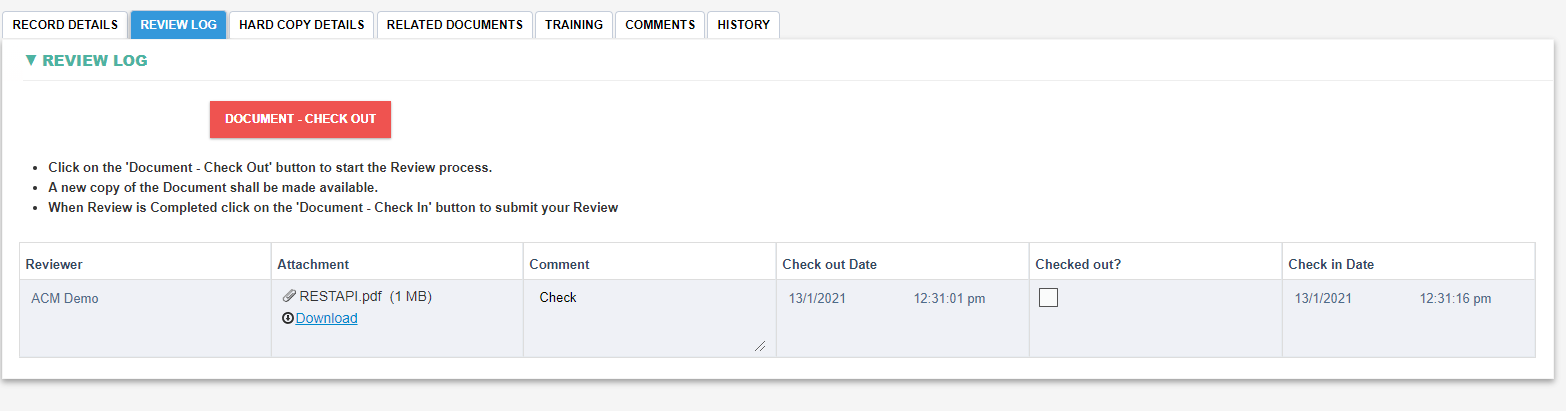
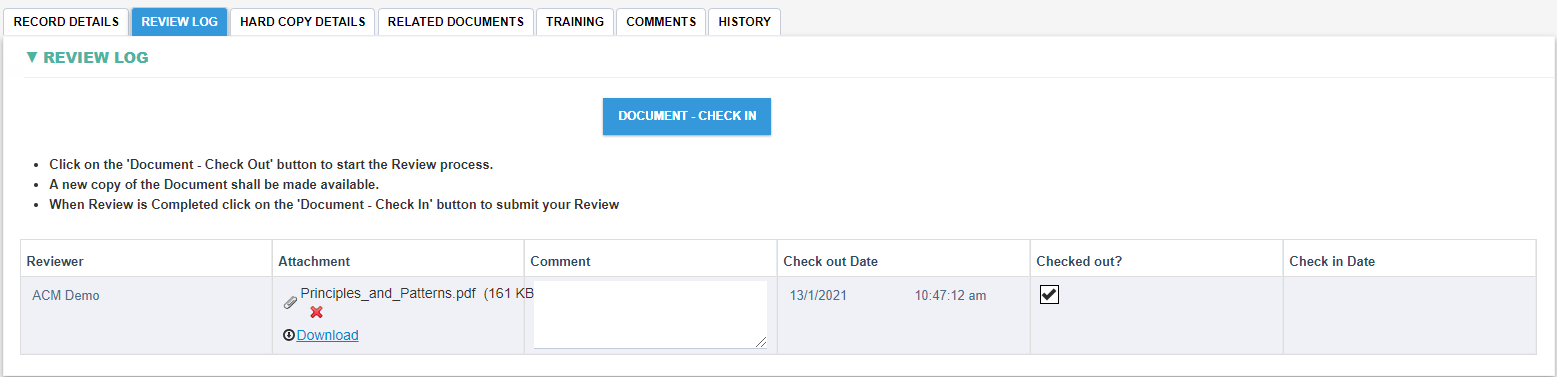
To check out the document
- Click on the 'Document - Check Out' button to add a new entry to the review log.

- Click the Download link under the Attachment Field in the new review log entry.
- Make the required changes to the document on your local machine.
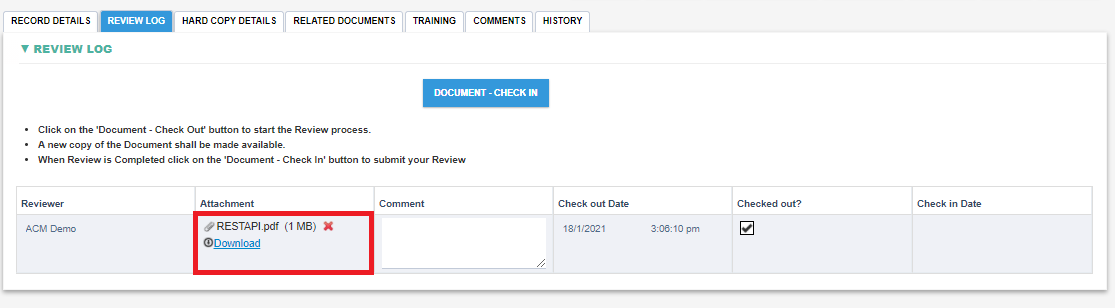
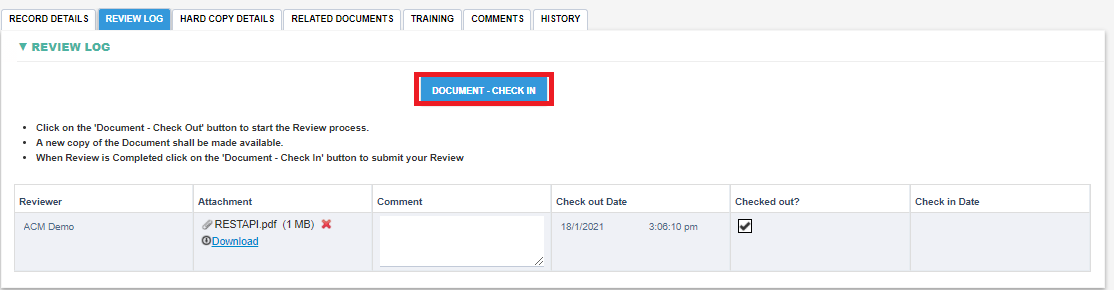
To check in the document
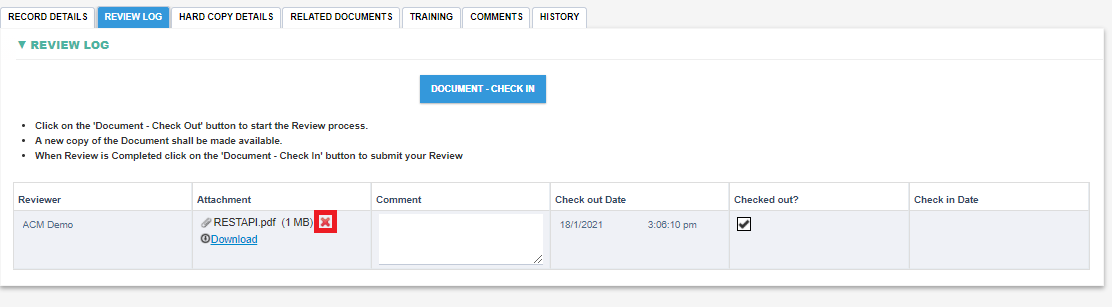
- Click the red cross in the Attachment field to remove the old document.
- Click the Choose File button and upload the edited document.
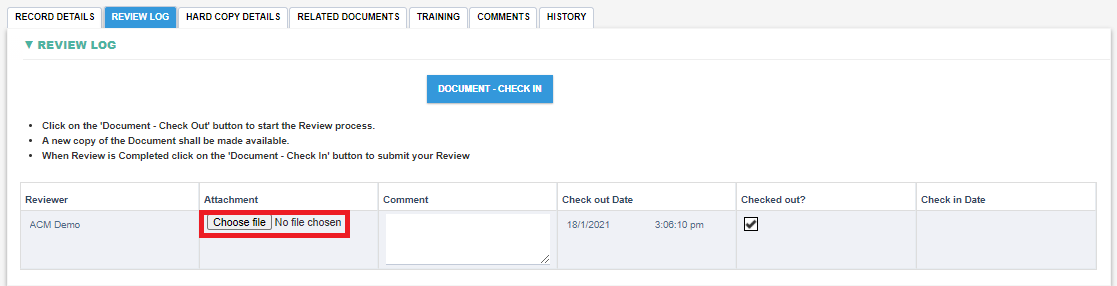
- Click the 'Document - Check In' button to submit your Review.
- Explanation at each step of the checkout/check in process
- The document can be checkout and checked in at the review step by choosing the review log tab.
Review Log - before Checkout

|
Field |
Field Explanation |
|
DOCUMENT-CHECKOUT |
|
Review Log - After Checkout
|
Field |
Field Explanation |
|
Reviewer |
|
|
Attachment |
|
|
Comment |
|
|
Checkout Date |
|
|
Checked out? |
|
|
Check in Date |
|
Review Log - After check in when finishing Review
- A complete Review log will be recorded and displayed in the Review Log tab of the current document.